Berkeley Springs is the kind of place that feels timeless- you can easily imagine the first settlers in this small town, even as you enjoy the modern amenities it offers now. Known historically as the Town of Bath, it has been welcoming travelers for centuries with its mineral-rich warm springs, mountain views, and small‑town charm. Whether you’re craving a restorative weekend, an outdoor adventure, or a cozy getaway filled with art, food, and history, Berkeley Springs offers a little bit of everything—and then some.
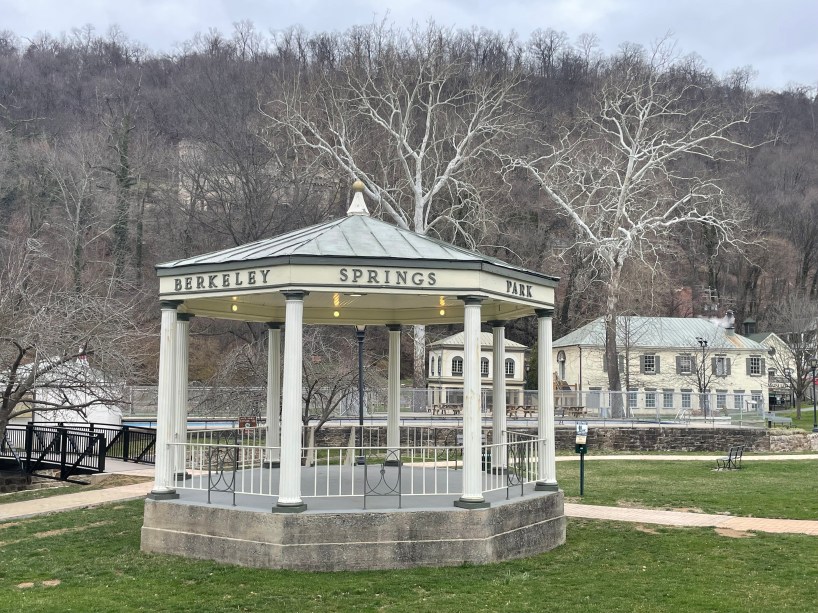
Berkeley Springs’ warm mineral water springs have drawn visitors since the 1700s—including George Washington himself. Today, the heart of town is still Berkeley Springs State Park, where the warm, clear waters bubble up at a consistent 74.3°F. Visitors can soak in historic Roman baths, book private mineral tubs, or simply relax near the spring-fed fountains. The park is especially lovely in spring and fall, when blooming trees or fiery foliage frame the historic bathhouse.
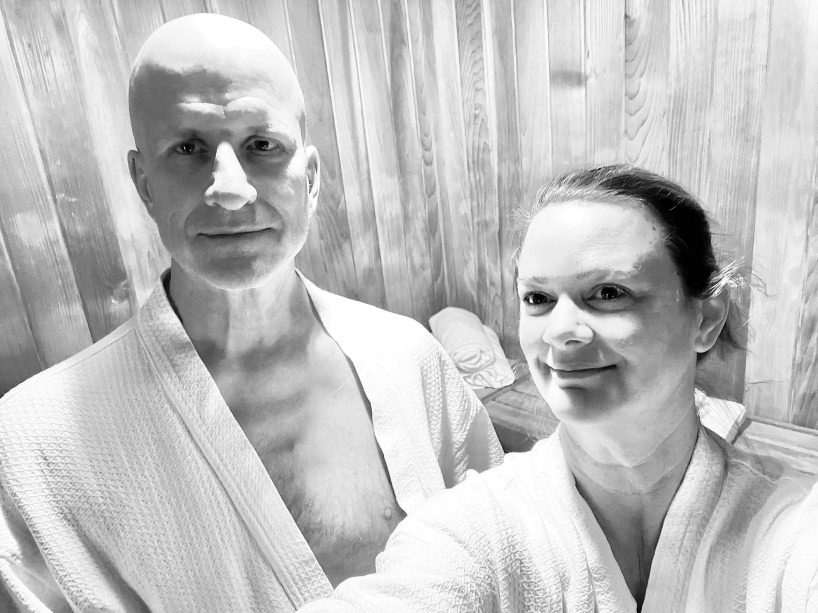
The springs aren’t just a novelty—they’re a tradition. Generations have come here to “take the waters,” and the town continues to honor that heritage with spa treatments, massages, and wellness experiences rooted in its past. Chris and I indulged in a sauna, shower, and Roman bath trio at the state park’s main bath house, which cost about $80 for the two of us (be sure to ask about a military discount if you served).
While the warm springs may be the star, the surrounding landscape is just as captivating. Just 15 minutes from downtown, Cacapon Resort State Park spans more than 6,000 acres of forests, trails, and scenic overlooks. It’s a paradise for hikers, mountain bikers, horseback riders, and families looking for a day of fresh air. In summer, Lake Cacapon becomes a hub for swimming and paddleboarding, while fall transforms the park into a kaleidoscope of color. We visited Berkeley Springs at the tail end of winter, with just a bit of snow on the ground, as spring was just around the corner.
For a quick but unforgettable view, head to Prospect Peak Overlook, one of the most photographed views in the region. From here, layers of mountains and river valleys stretch into the distance—a perfect spot for sunset watchers and photographers.
Berkeley Springs may be small, but it’s rich with stories. A visit to the Museum of the Berkeley Springs helps explain how the springs shaped the town’s identity, from Indigenous use to colonial spa culture.
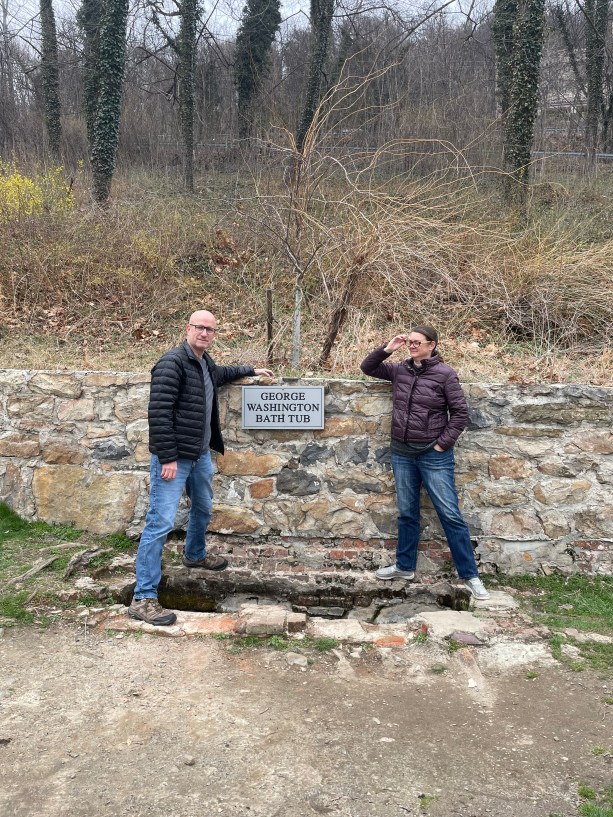
Wandering through town, you’ll find historic landmarks tucked between boutiques, cafés, and galleries. One quirky must‑see is George Washington’s Bathtub, a stone outline marking where the first president once soaked in the warm waters. It’s a fun reminder that even great leaders needed a little self‑care. No, you can’t take a bath in GW’s tub!
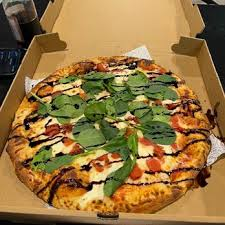
For a small town, Berkeley Springs offers an impressive variety of dining options. From cozy cafés to upscale restaurants, you’ll find something to satisfy every craving. The town’s culinary scene reflects its welcoming atmosphere—warm, unpretentious, and rooted in local flavor. We especially enjoyed morning coffee and muffins at Fairfax Coffee House, and later the creative choices at Mythical Pizza.
Craft beer lovers will appreciate the two local breweries, each offering its own take on West Virginia’s brewing traditions. After a day of hiking or soaking, there’s nothing better than settling in with a cold pint and a hearty meal.
The town even hosts the International Water Tasting each February—a quirky, beloved event known as the “Academy Awards of Water,” complete with a “Water Rush” where attendees can grab as many bottles as they can carry.
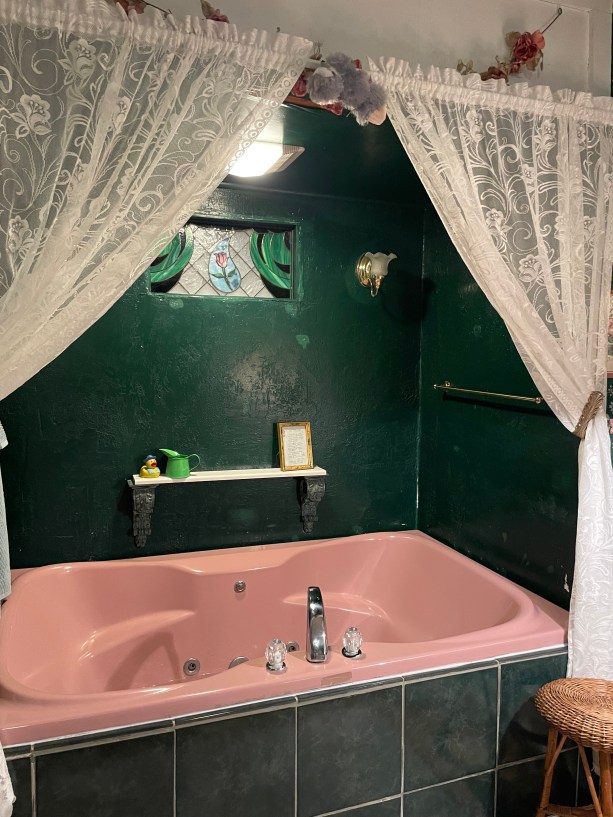
Berkeley Springs offers a wide range of accommodations, from charming bed‑and‑breakfasts to modern vacation rentals nestled in the woods. Many visitors choose to stay in cabins near Cacapon State Park, where mornings begin with birdsong and mountain mist. Others prefer the convenience of staying in town, steps away from spas, shops, and restaurants. The main anchor point of the town is the Country Inn of Berkeley Springs, featuring 60 guest rooms, a spa, tavern, and gardens. We found a cute little AirBnB that featured both an electric fireplace and a jetted bath tub, just one block off the main street that runs through town.
Berkeley Springs is a 90‑minute drive from the Washington, D.C. and Baltimore metro areas, making it an easy weekend escape. Once you arrive, the town is walkable, and most attractions are just a short drive away.